
Everything you need to start painting with watercolors, all in one place. Whether you just picked up your first brush or you’ve been dabbling for a few months, these are the tips, tools, and resources I wish I had from day one.
On This Page
Getting Started with Watercolor
Watercolor is one of the easiest art forms to pick up and one of the most forgiving once you know a few basics. You don’t need a fancy studio, years of practice, or even a plan for what you’re going to paint. All you need is a little water, some paint, and about twenty minutes where nobody needs anything from you.
This guide walks through the supplies worth starting with, how to choose paper and paint that won’t fight you, the color theory that actually matters early on, and the mindset shifts that make the whole thing more relaxing instead of frustrating. Whether you’re hoping to build a real skill or just want a quiet screen free hour in your week, this is the place to start.
Keep a Sketchbook
The first thing I recommend you buy along with your basic supplies is a sketchbook so you can track your progress.
- A dedicated sketchbook with no pressure attached is one of the most valuable things you can have as a beginner.
- Use it to try washes, test color mixes, and explore without worrying about the result.
- Date every page. Looking back at early pages after a few months is one of the most motivating things you can do.
- Don’t throw out early work. Progress is hard to see in real time but obvious when you look back.
Your Supplies: What Actually Matters
You don’t need a lot of gear to get started, but a few key quality decisions will save you a lot of frustration early on.
Brushes
- Don’t leave brushes sitting upright in your water jar. Water travels up into the ferrule and warps the bristles over time.
- Be gentle when rinsing. Jamming brushes against the bottom of the jar ruins the tip.
- After cleaning, reshape the bristles with your fingers and lay them flat or store them tip-up to dry.
- Reserve your good brushes for watercolor only. Masking fluid is brutal on bristles, so keep a dedicated old brush just for that.
Paper
- Keep a cheap practice pad for daily experiments and save your good paper for paintings you want to keep.
- Paper makes a bigger difference than most beginners expect. Look for 100% cotton paper.
- Cotton paper handles water completely differently than wood pulp paper. It lets you lift, blend, and rework without pilling.
Paint: Tubes vs. Pans
- If you’re following tutorials, I find tubes are easier to work with because you can squeeze out specific amounts and control your ratios.
- Pan sets are great for travel and portability, but for mixing practice, tubes give you more control.
- You can fill empty pans with tube paint and let them dry to get the best of both worlds.
Palettes
- Get a large flat palette with plenty of open mixing space.
- Use smaller project palettes to mix and save specific color schemes so you can return to them.
- Split your main palette by warm and cool versions of each color. It makes it easier when an instructor says to use a “warm red” for example.
Water Jars
- Mason jars work great. Use three: two for rinsing brushes, one kept clean for fresh water when laying washes.
- Clean water makes a real difference in keeping your colors bright and clear.
Color Mixing for Beginners
Color mixing is where watercolor gets really fun, and also where beginners get the most confused. Here are the core ideas to build on.
More Water = Lighter Color
- This means more water in the paint on your palette, not just more water on your brush.
- Water dilutes pigment. The more you dilute, the more transparent and light the wash.
- Experiment on scrap paper to see how the same color looks at different dilutions.
Darken Colors with Their Complement, Not Black
- Adding black to darken a color tends to make it look muddy and lifeless.
- Instead, reach for the complement on the color wheel: red and green, orange and blue, yellow and purple.
- A few specific mixes worth knowing:
- Burnt sienna mixed into greens creates beautiful earthy, natural-looking greens.
- Payne’s Grey has a dark blue tint and is great for cooling and darkening warm colors.
- Moon Glow is a soft, earthy color that tones down anything too bright without killing the color.
Swatch Everything
- Make swatch cards for every color you own, showing both the full-strength color and the diluted wash.
- Also swatch your mixed colors. Tube colors often look very different on paper than in the pan.
- Keeping a physical reference means no guesswork mid-painting.
The Mother Color Technique
- Mix a small amount of every color in your palette together to create one neutral ‘mother’ color.
- Add a touch of that mother color into each individual paint mixture.
- Every color now shares the same underlying tone, which pulls the whole painting together.
The Dominant Color Technique
- Choose one color and mix a small amount of it into every other paint on your palette.
- That shared hue ties the whole painting together into a cohesive, unified look.
Basic Techniques to Learn First
Before you dive into subjects and scenes, a few foundational techniques will make everything else easier.
Washes
- A flat wash is a consistent layer of color at the same tone across the whole area.
- A graded wash transitions from dark to light (or from one color to another).
- Variegated washes blend two or more colors while wet and are one of watercolor’s most beautiful effects.
Wet-on-Wet vs. Wet-on-Dry
- Wet-on-wet: paint applied to a wet surface creates soft, feathery, unpredictable edges.
- Wet-on-dry: paint applied to a dry surface creates crisp, controlled edges.
- Most paintings use both. Learning to control which you’re doing is a core skill.
Work Light to Dark
- Unlike oil or acrylic, you cannot paint white over a dark area. The lightest areas in a watercolor painting are the white of the paper.
- Start with your palest values, build up slowly in layers, and save your darkest marks for last.
Let Layers Dry
- Applying a new wash over a layer that hasn’t dried creates blooms and backruns, which can be beautiful or can wreck the painting depending on what you were going for.
- A heat gun or hair dryer on a low setting speeds things up when you’re impatient.
Taping Your Paper
- Tape the edges of your paper with artist or painter’s tape before you start. When you peel it off, you get a crisp white border that makes any painting look more finished.
- Use a heat gun to gently warm the tape before pulling. It releases cleanly without tearing the paper.
Drawing and Composition
You don’t have to be a great artist to be a great painter. Here’s how to set yourself up before the brush ever touches the paper.
It’s Fine to Trace
- If drawing isn’t your thing, don’t let that stop you from painting. Use carbon transfer paper to transfer a reference image directly onto your watercolor paper.
- The painting is still entirely yours. Plenty of working artists use this method.
Improve Your Drawing Over Time
- If you want to get more confident drawing freehand, there are some really good beginner-friendly resources out there.
A Few Things I Learned the Hard Way
These are the things no one tells you until you’ve already made the mistake.
- Rushing is the enemy. Going back into a wash that hasn’t fully dried creates blooms. Sometimes they’re beautiful. Sometimes they’re not. Let things dry.
- Happy accidents are real. Watercolor does unexpected things with water and pigment. Learning to recognize something beautiful in an accident, and lean into it, is one of the skills. Bad paintings are part of the process.
- Give yourself permission to paint terrible things. You learn more from one loose, fearless painting than from ten careful ones.
- Your eye develops faster than your hand. You will notice your mistakes before you have the skill to stop making them. That’s not failure, that’s progress.
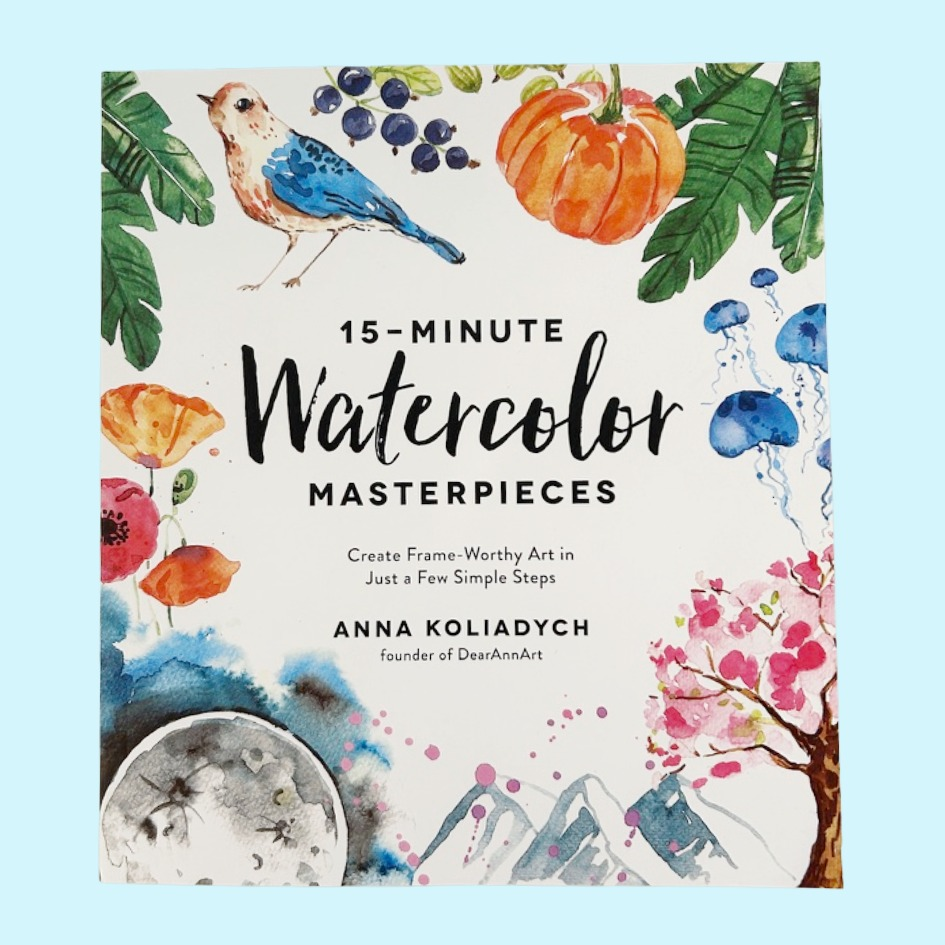
Watercolor Books For Beginners
These are books I own and have found the most helpful when learning and playing with watercolor.
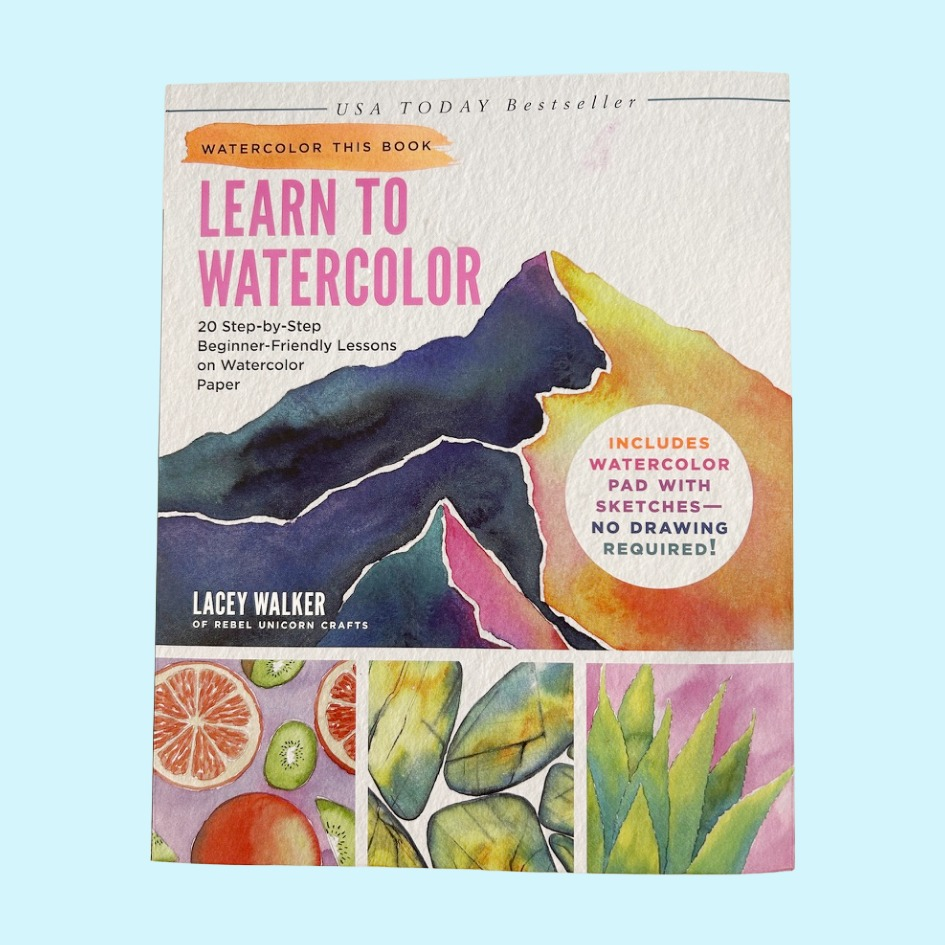
Learn To Watercolor
Lacey Walker of Rebel Unicorn Crafts
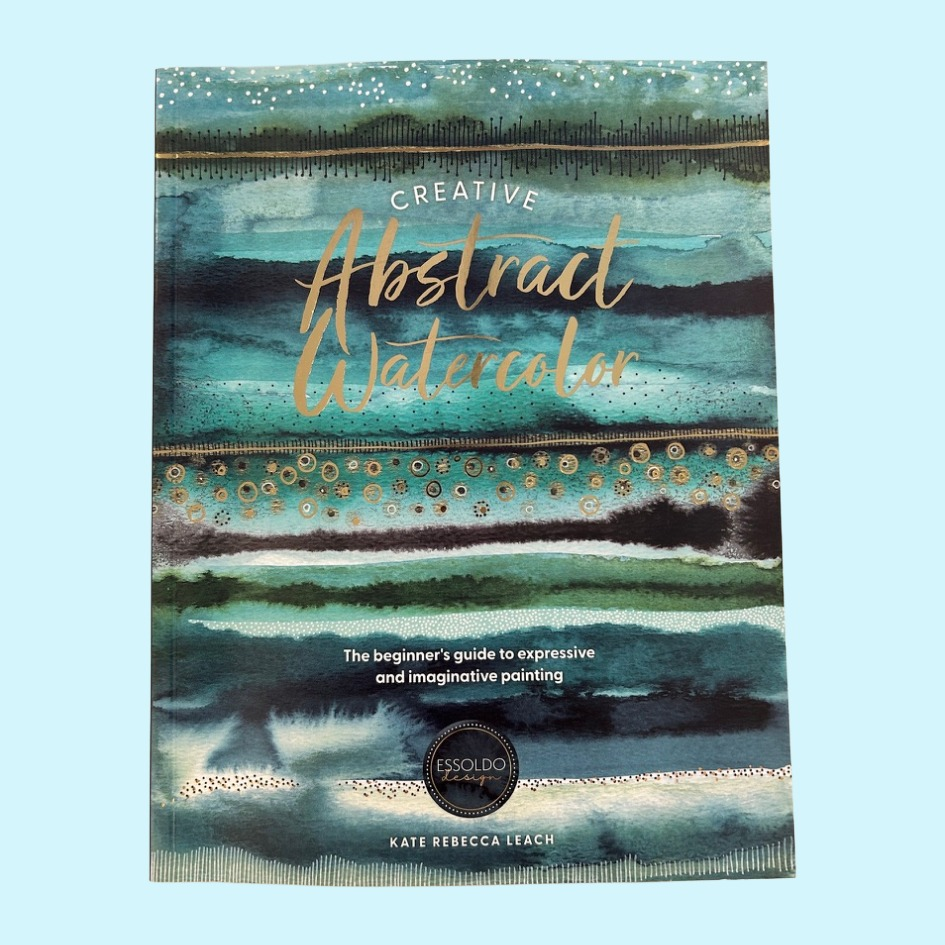
Creative Abstract Watercolor
Kate Rebecca Leach of Essoldo Design
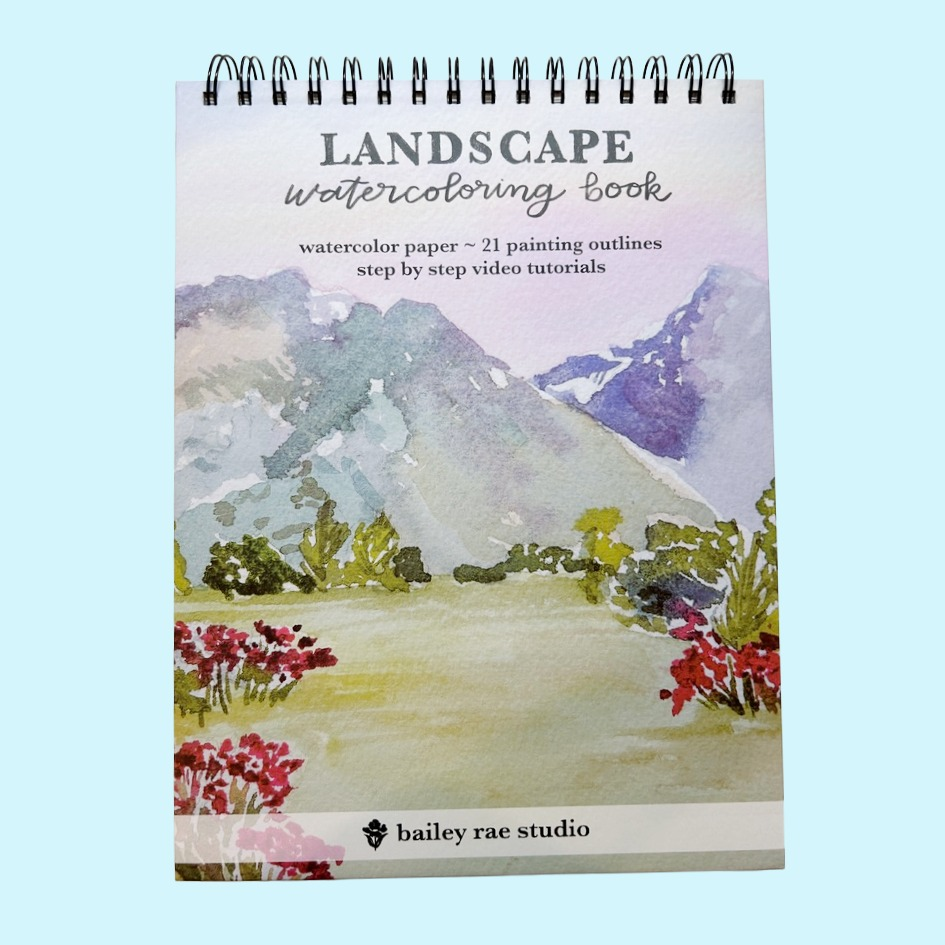
Landcape Watercoloring Book
Bailey Rae of Bailey Rae Studio
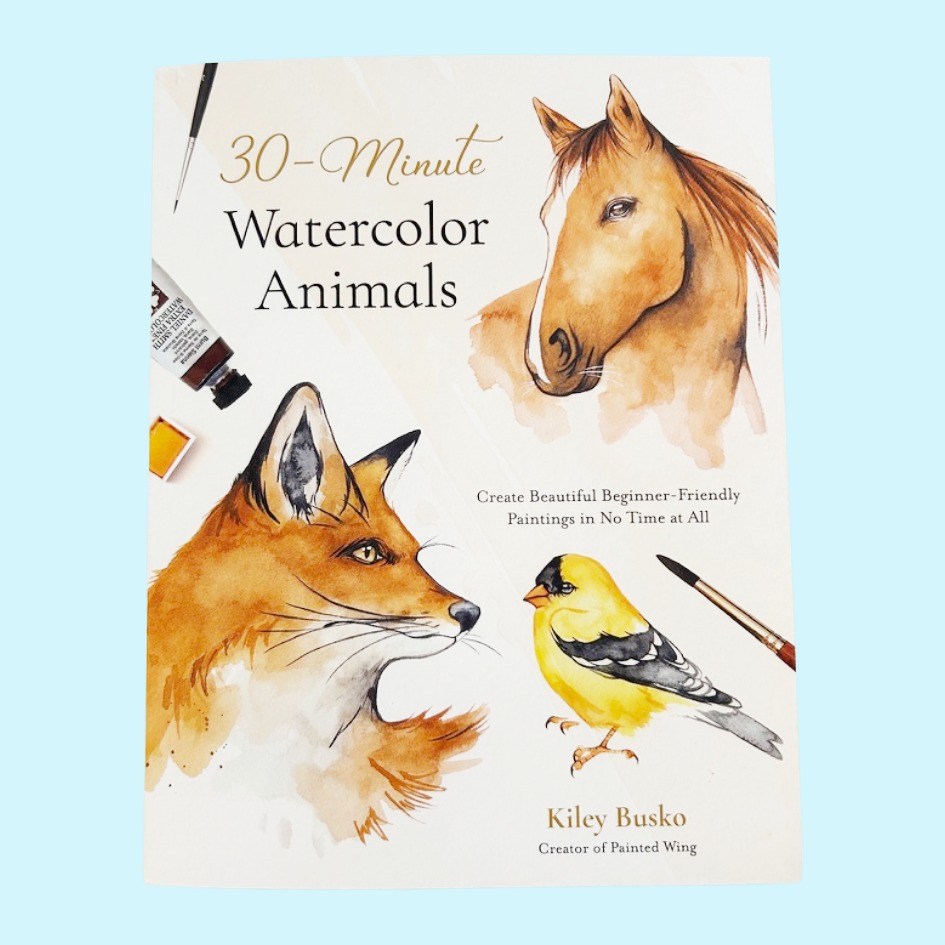
Watercolor Courses For Beginners
These are courses I have taken myself and recommend to beginners.
Course Title 2
Course Title 3
Watercolor Artists to Follow
These are watercolor artists that I love and recommend that you follow for tips and inspiration!


This page will keep growing as I write more in-depth posts on each of these topics. Bookmark it and come back. If you have a question that isn’t covered here, drop it in the comments and it might become the next post.